
How to Test for Radon at Home
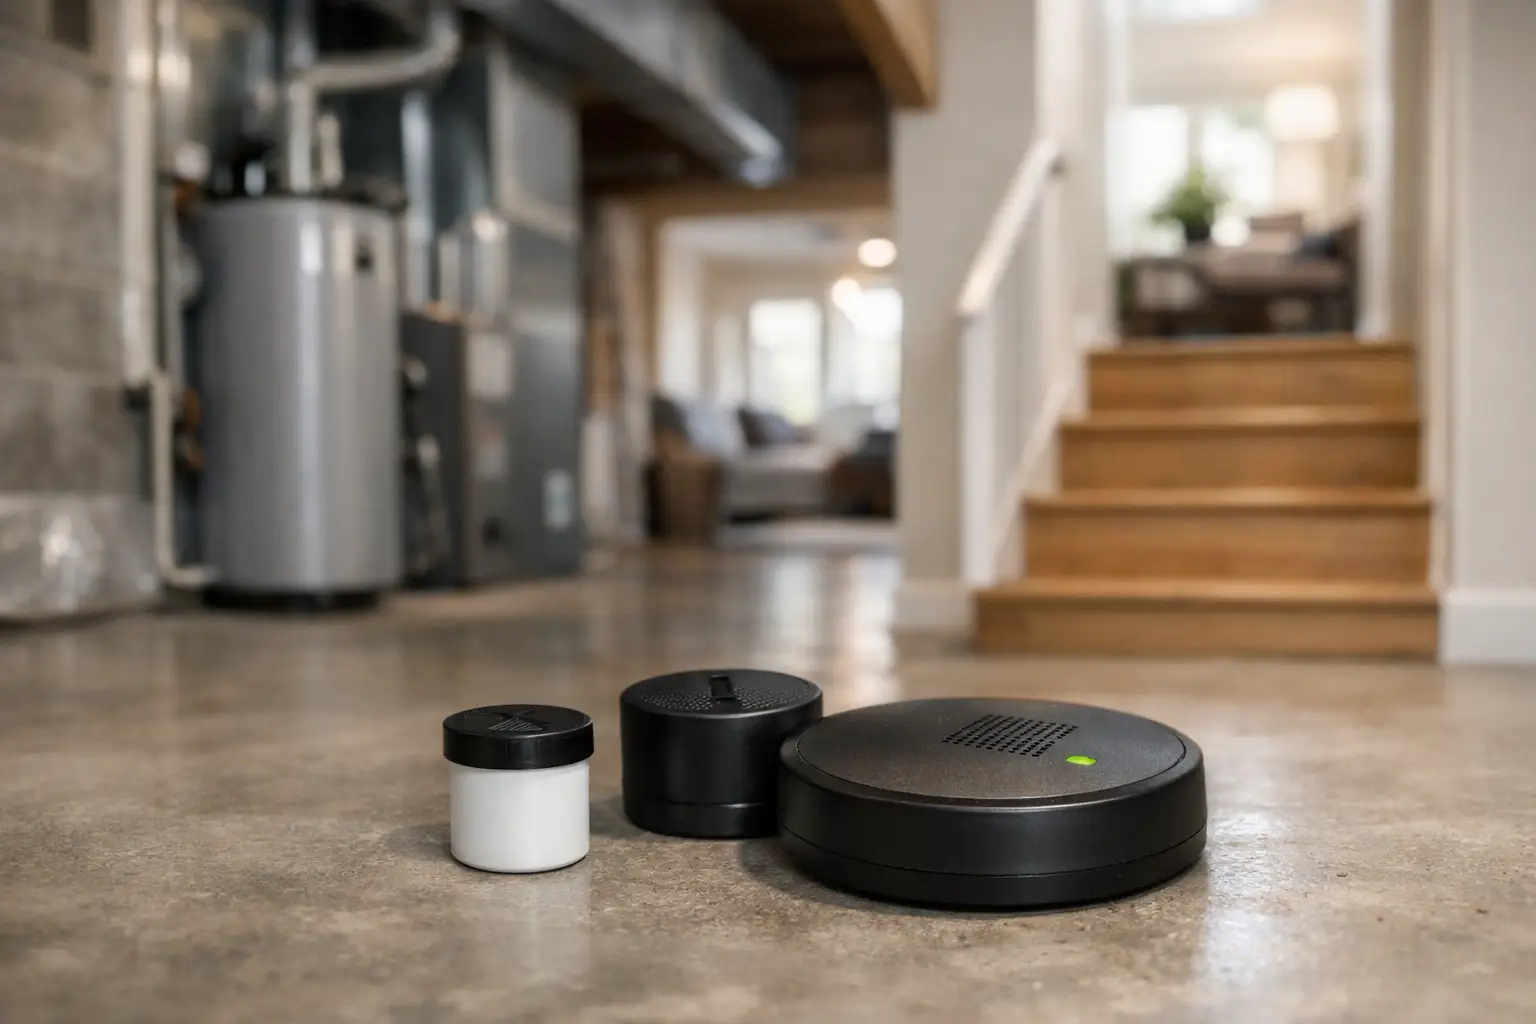
A radon problem rarely gives you a warning sign. No smell, no irritation, no visible residue - just a radioactive gas that can build up indoors and raise long-term health risk. If you are wondering how to test for radon, the good news is that the process is straightforward, affordable, and well within reach for most homeowners, renters, and small office managers.
Why testing matters more than guessing
Radon comes from the natural breakdown of uranium in soil and rock. It can move through the ground and enter buildings through cracks in slabs, gaps around pipes, sump pits, crawl spaces, and other openings near the foundation. Because it is invisible and odorless, you cannot judge risk based on how your home feels.
A newer home can have radon. An older home can have radon. A tightly sealed energy-efficient house may trap more of it, but a drafty house is not automatically safe either. Even neighboring homes can test very differently. That is why testing is the only reliable way to know what you are dealing with.
For health-conscious families, this is not a small issue. Radon exposure is a serious indoor air concern, especially if someone in the home has asthma, existing lung issues, or a history of smoking. It is one of those problems where a simple test can prevent years of avoidable exposure.
How to test for radon: your two main options
Most people choose between a short-term radon test and a continuous radon monitor. Both can work well, but the best choice depends on whether you want a quick screening result or ongoing visibility.
Short-term radon test kits
A short-term test kit is the simplest starting point. These kits are commonly used for an initial check and usually stay in place for a few days, depending on the test design and instructions. After the test period, you send the kit to a lab and receive your result.
This option makes sense if you are testing for the first time, preparing for a real estate transaction, or trying to keep costs down. The trade-off is that you get a snapshot, not a running view of changing radon levels over time.
Continuous radon monitors
A continuous monitor gives you ongoing measurements in the space where it is placed. This is helpful if you want to track day-to-day changes, confirm that a mitigation system is working, or keep a closer eye on an area with known risk.
The advantage is convenience and visibility. Instead of waiting on lab processing, you can watch trends and respond faster. The trade-off is price. A monitor costs more upfront than a basic test kit, but for many homeowners it pays off in peace of mind and long-term usefulness.
Where to place a radon test
Placement matters almost as much as the test itself. If the device is in the wrong location, the reading may not reflect actual exposure.
Put the test in the lowest level of the building that is regularly used. In many homes, that means a basement if it is finished or used often. If the basement is unfinished and no one spends time there, the first floor may be more appropriate. In an office setting, place the test in the lowest occupied area.
Choose a room that people actually use, such as a family room, home office, playroom, bedroom, or den. Avoid kitchens, bathrooms, laundry areas, closets, crawl spaces, and furnace rooms unless the manufacturer specifically says otherwise.
The device should usually be placed away from drafts, direct sunlight, high humidity, exterior doors, windows, and vents. It should also be elevated off the floor according to the instructions that come with the test. The details vary by product, so the packaging matters.
How to get accurate results
If you want to know how to test for radon correctly, the biggest mistake to avoid is treating the test casually. Small setup errors can affect the reading.
For many short-term tests, you should keep closed-house conditions for at least 12 hours before the test starts and during the test itself. That usually means keeping windows closed, using exterior doors only for normal entry and exit, and avoiding fans or ventilation setups that bring in outside air. Central heating and air conditioning systems can usually operate normally, but whole-house fans and open-window ventilation are another story.
Follow the timing instructions exactly. Start and stop the test when directed. Record the placement date and time if required. If the kit needs to be mailed to a lab, send it promptly. Waiting too long can make the result less reliable or unusable.
With digital monitors, accuracy also depends on proper placement and enough time for the device to gather meaningful data. Some monitors show early readings quickly, but longer measurement periods give a more dependable picture.
What radon results mean
In the US, radon is commonly measured in picocuries per liter, written as pCi/L. The number tells you how much radon is present in the air.
If your result is below 2.0 pCi/L, that is generally considered a relatively low level, though no amount of radon is completely risk-free. If the reading falls between 2.0 and 4.0 pCi/L, many homeowners choose to keep monitoring or consider mitigation, especially if the level is persistent. If the result is 4.0 pCi/L or higher, that is the level where action is typically recommended.
One result does not always tell the whole story. Radon levels can change with weather, season, home ventilation patterns, and foundation conditions. A short-term test that comes back high should usually be followed by another test or a longer-term measurement to confirm the situation before deciding on next steps. If the level is very high, move quickly.
Short-term vs. long-term testing
Short-term testing is useful when you need an answer soon. It is often the right move for first-time screening, home sales, and urgent health concerns. But because radon varies over time, a short-term result can miss the full picture.
Long-term testing gives a better average exposure reading because it captures seasonal changes and normal variations in the home. If your initial short-term result is borderline or you want stronger confidence in the number, a long-term approach is worth considering.
Continuous monitors can bridge that gap well. They are especially helpful for buyers who want ongoing reassurance, families with finished basements, and anyone who has already installed a radon mitigation system and wants to verify performance over time.
When to retest for radon
Testing once is smart. Retesting at the right times is smarter.
You should retest after major renovations, especially if the work affects the foundation, insulation, ventilation, or HVAC system. Retesting also makes sense after installing a radon mitigation system, when buying a home, or when changing how a lower level is used, such as turning a basement into a bedroom or office.
Even without obvious changes, periodic retesting is a good habit. Homes settle. Cracks form. Airflow patterns shift. A result from years ago may not reflect current conditions.
What to do if your radon level is high
A high radon reading is a problem to solve, not a reason to panic. In many cases, mitigation is effective and straightforward.
The most common fix is a radon mitigation system that pulls soil gas from beneath the home and vents it safely outside. The exact setup depends on the building type, foundation design, and entry points. A slab-on-grade home may need a different approach than a house with a basement or crawl space.
This is where better data helps. If you already know the room, pattern, and trend of elevated readings, you are in a better position to address the issue efficiently. After mitigation, testing again is essential to confirm the system is doing its job.
Choosing the right radon test for your situation
If you need a quick answer, a short-term kit is usually the best place to start. If you want convenience and ongoing awareness, a continuous monitor is often the better investment. If your home has had elevated readings before, or you are managing a health-sensitive household, real-time monitoring offers a level of control that a single-use kit cannot.
That practical, problem-solution approach is why many buyers turn to specialty indoor air quality retailers like A.M.I. Services. The goal is not just to sell a device. It is to help you choose the right tool for the risk you are trying to manage.
Testing for radon is one of the simplest steps you can take to make your indoor environment safer. Once you know your number, you can make a clear decision - and that is always better than guessing.
Recent Posts
-
How to Test for Radon at Home
May 10, 2026 A radon problem rarely gives you a warning sign. No smell, no irritation, no visible …14th Oct 2026 -
Austin Air Purifier Review for Real Homes
May 8, 2026 If you are reading an Austin Air purifier review, chances are you are not shopping for …14th Oct 2026 -
Best Radon Detector for Home Buyers
May 6, 2026 A radon problem rarely comes with a warning sign. No smell, no visible residue, no obv …14th Oct 2026